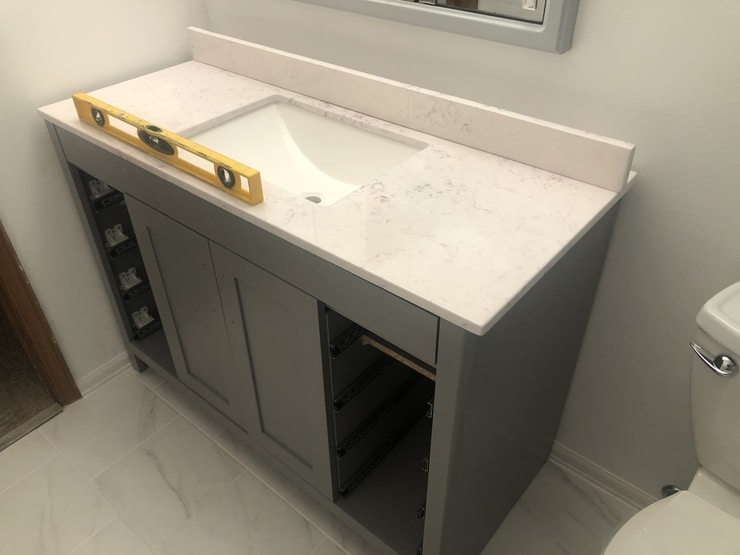
The bathroom vanity is one of the first things that catch your eye when you enter the bathroom.
However, there are many ways to install a vanity, and placing it against a baseboard is not an uncommon practice.
Some people struggle with installing a vanity against a baseboard while keeping it flush with the wall. This installation is usually accomplished by scribing and then cutting the vanity so it fits over your baseboard. You can do this job by cutting out the baseboard or trimming and scribbling the vanity.
With two different installation methods available, you will have to decide which one will work better for your bathroom and vanity.
Don’t hesitate or struggle with installing your vanity over a baseboard. Read on to learn how easy this installation process can be.

Should You Cut the Baseboard or the Vanity?
There is some debate as to whether it’s better to cut your bathroom baseboard or the vanity itself.
In most cases, it’s better to cut the vanity.
The reasoning behind this method is that by cutting the vanity, you leave the baseboard intact so it can keep doing the important job of protecting your walls.
If your sink develops a leak, the baseboard can save your wall from water damage, but you leave your wall exposed if you cut the baseboard out.
Although there are some circumstances in which cutting the baseboard would be the better option.
How to Install a Bath Vanity Against a Baseboard
Tools You Will Need
- Scribing Tool
- Jigsaw
- Hole Saw
- Eye Protection
- Tape Measure
- Drill or Screwdriver
Install a Bath Vanity by Cutting Out the Baseboard
1. Measurements and Preparations
Begin by preparing your tools.
Find a scrap piece of wood or trim piece that is a bit wider than the vanity you’re trying to install.
Place the scrap piece up to the vanity and mark where the vanity ends on each side using a pencil.
To double-check your markings, use a tape measure and measure the width of the vanity, then measure the scrap piece between your two markings to make sure they are the same.
Put your scrap piece up to the baseboard and transcribe your markings onto the baseboard.
2. Making Your Cuts
Use a jigsaw to cut your baseboard exactly where you marked it.
It’s easier to stand over the baseboard when cutting it. Just take care not to cut into your wall or flooring.
With both your cuts on each side of the baseboard finished, you should be able to remove the baseboard by hand.
You will likely have plumbing going into the back of the vanity.
Use a 1 or 2inch hole saw to cut a hole in the back of your vanity to allow access to plumbing.
3. Fitting the Vanity
With all your cuts complete, it’s time to place the vanity into its new home.
You will likely need someone to help you move the vanity.
Be mindful that it’s best to go slow, so you do not damage your walls or uncut baseboards.
When you get near the wall, you can connect plumbing through the hole in the back of the vanity before getting it directly against the wall.
In most cases, you will need to caulk the back or sides of the vanity where it meets the wall or use trim pieces.
Install a Bath Vanity by Cutting the Vanity
1. Preparations
Take a good look at the vanity and the area you want to install it in.
It’s important to note where the plumbing will connect to the vanity.
Most vanities have plumbing connections in the back, but sometimes they are on the side.
Use a hole saw to cut holes for plumbing connections in your vanity.
Then check the baseboard and the floor for any obstacles or debris that will prevent a smooth installation.
2. Scribing the Vanity
Measure the thickness of your baseboard and set your scribing tool to that measurement.
Next, open the wing nut on your scribing tool and make sure the pencil on it is in good shape.
Bring the vanity close to the baseboard and with the flat side of the scribing tool on the baseboard and the pencil side on the vanity scribe the shape of the baseboard on the vanity.
If you have never used a scribing tool, it may take a few tries to get an exact scribe of the baseboard.
Use an eraser to remove your markings and start over if you need to.
3. Cutting the Vanity
Gently place your vanity on its face or its side.
You can use a towel or blanket if you are worried about scratching or damaging the vanity.
With the vanity on its face or side, it will be much easier for you to make your cut.
Using the jigsaw, follow your scribed markings to cut out space for the baseboard.
Cutting a little over the line is okay because no one will ever see it, but cutting under the line will prevent your vanity from fitting snugly against the wall.
4. Installing the Vanity
Place your vanity against the wall.
If it does not fit perfectly, you may need to scribe and cut the vanity again.
Most vanities come with 3-inch screws that are used to affix the vanity to the wall through studs.
Using the vanity’s back rail, secure it to the wall using the screws provided.

