Caulking is a vital part of your bathroom and is used everywhere, from the bathtub and fixtures to the sink. But should caulking also be used on your bathroom’s baseboards?
Caulking your baseboards will help prevent water from getting behind them, which can cause water damage. Caulk creates a water-resistant layer that will give your baseboards and walls an added layer of protection. Caulking and baseboards work hand in hand to fight against moisture and mold.
Although it’s known that caulking baseboards can help prevent water damage, there are still other questions to be answered, such as which caulking products are best for the bathroom, how to use them, and is caulking baseboards really necessary?
Read on and learn everything you need to know about caulking bathroom baseboards. It can save you time and money.

Is It Necessary to Caulk Bathroom Baseboards?
While there are no building code regulations explicitly stating that you need to caulk bathroom baseboards, most professionals agree that you should caulk these baseboards because it comes with many advantages.
Additional Water Protection
The main reason to caulk bathroom baseboards is that it helps prevent water from getting behind your baseboard.
The water and high moisture levels in your bathroom tend to find a way behind baseboards causing water damage and mold.
So caulking your baseboards can help save you from a costly repair bill.
Hides Gaps
A pristine bathroom is only as beautiful as its most noticeable flaw.
Upon close inspection, the gap between the baseboard and the wall can be an annoyance when decorating or remodeling your bathroom.
Caulking your baseboards gets rid of this gap and can create a seamless appearance if the caulk, baseboard, and paint all match.
Prevents Insects From Entering Your Bathroom
Nobody likes it when insects decide to become uninvited guests in your bathroom.
Unfortunately, bathroom bugs have been known to fit through extremely small spaces.
Caulking your baseboard can help stop insects from entering your bathroom through the inside of the wall, basement, or crawlspace.
How to Choose the Best Caulk for Bathroom Baseboards
When it comes to choosing a caulking product for your bathroom, your main concern should be how well it does around water.
While an acrylic-based caulk is easier to install it is not waterproof.
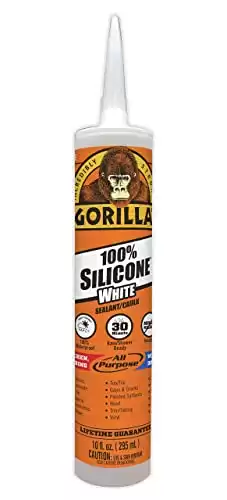
You will instead want to go with silicone caulk
- 100% Waterproof
- Mold & Mildew Resistant
- Won't Yellow, Shrink or Crank
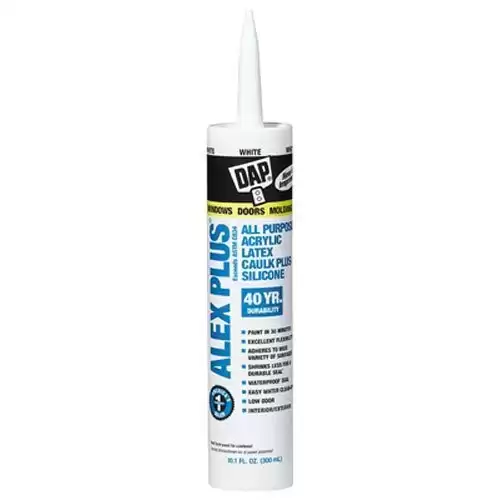
or latex-based caulking product.
- 100% Waterproof Seal
- Mold & Mildew Resistant
- Paintable in 30 Minutes
It is easy to apply, low in odor, and cleans up easily with water.
Once you have settled on a good quality caulking product, you will likely have some style options to consider.
Most caulking products come in white but there are some that come in other shades and colors.
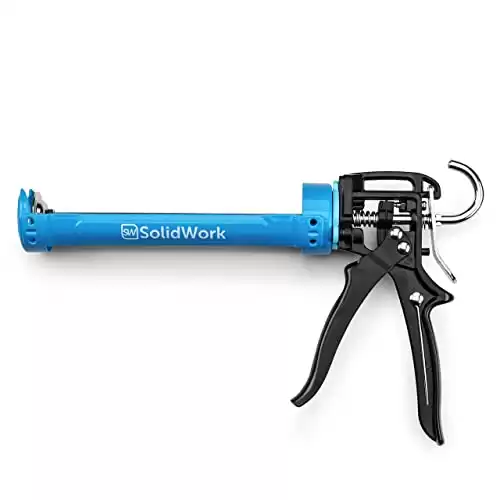
Also, don’t forget to invest in a high-quality caulking gun. It will make the installation process go much more smoothly.
- 24:1 Thrust Ratio
- Ergonomic Handle
- Easy Dosing
How to Caulk Baseboards in the Bathroom
Tools You Will Need
- Caulking Gun
- Caulk
- Putty Knife
- Plastic Gloves
- Microfiber Cloths
- Painters Tape
Step-by-Step Guide
1. Prep the Baseboards
Start by removing as much of the old caulking as possible. Any old caulking left behind will affect the new caulking you install.
You can use a putty knife or utility knife to get rid of the old caulking.
Once you have removed the old caulking, use a rag and some hot water and soap or vinegar to remove any dust and debris that are on your baseboards.
Make sure your baseboards are clean and dry before proceeding.
Finally, apply painter’s tape to your baseboards just above and below where you will be caulking.
This tape will prevent messes and make things easier when clean-up time arrives.
2. Load and Cut the Caulk
Most caulking products need to be loaded into a caulking gun, although there are some products that are in squeezable tubes that do not need a caulking gun.
Once you have your caulking tube loaded into the gun, you will need to cut the tip to use the sealant.
For baseboards, it is best you cut the tip of the tube at a 45-degree angle. But in any case, follow the manufacturer’s instructions.
3. Apply the Caulk
With your baseboards prepped and your calking gun loaded, you are ready to apply your caulk.
If you are unfamiliar with using a caulking gun, you can do some practice runs over a piece of paper or rag to give you an idea of how much pressure you should apply.
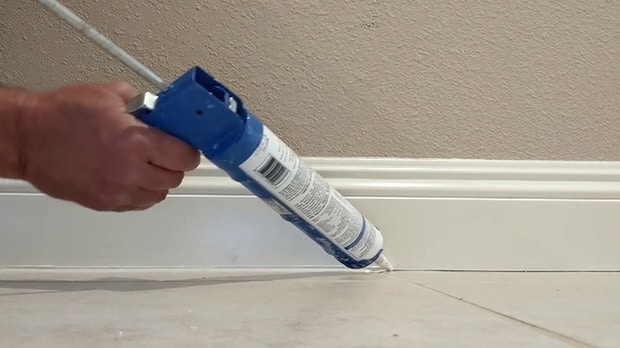
Holding the caulking gun at a 45-degree angle, apply the caulk at an even pace, moving the caulking gun in a steady motion across the baseboard.
4. Smoothing the Bead
As soon as you finish applying the caulk, run your finger across the top of the baseboard using a gloved fingertip, which will smooth out the bead of caulking.
For smoother lines, you can dip your fingertip in cold water to give your bead a more professional appearance.
5. Cleaning Up & Curing
Before the caulking dries, you should remove the painter’s tape so that it does not get stuck or become difficult to remove.
You will then want to use your microfiber cloths to clean up any spills or mishaps.
With everything cleaned up, you should wait for your caulking to fully cure before exposing it to any water or moisture.
Curing times vary from product to product but are usually around 24 to 48 hours.
FAQ
While most people believe caulking the top of a bathroom’s baseboards is enough, caulking the bottom is also recommended due to all the water that tends to collect on a bathroom floor.
It is better to caulk before you start painting. Caulking will adhere much better to the wood or vinyl surface of a baseboard and may have trouble sticking onto the paint.


