You might be experiencing a decrease in water flow while you are taking a shower, and one of the common reasons for that is a clogged shower mixing valve.
Eventually, mineral deposits can build up, causing your fixtures, including the showerhead and the shower mixing valve, to malfunction. If you noticed some white limescale deposits on your showerhead, it’s likely that the same mineral buildup is present in the mixing valve.
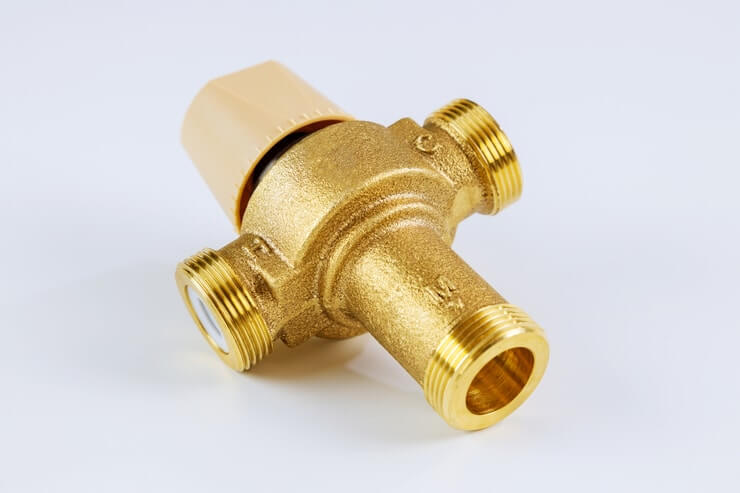
Here’s how to easily and quickly clean your shower mixing valve.
Why Is There a Clog In the Shower Mixing Valve?
The mixing valves in showers require little to no maintenance, although minerals can build up over time if you live in an area with particularly hard water. Limescale and other particles could accumulate inside the valve. When that happens, it hinders the water flow.
Signs of a Clogged Shower Mixing Valve
When your shower mixing valve gets clogged, the first thing you’ll notice is the reduced water flow in the shower. The drop in the shower’s flow rate can occur gradually, making it difficult to notice, or it can happen suddenly as a result of a blockage. So, if you notice a significant drop in pressure in the shower and none elsewhere, it could be a clogged mixing valve.
Another sign of a clogged shower mixing valve is not getting the desired water temperature. If the mixing valve stops working correctly, it can be caused by one of these things:
- Mixing valve is old and worn out
- Limescale buildup that damaged the valve mechanism
How to Clean a Concealed Shower Mixing Valve
Here is a guide to cleaning and taking care of a concealed shower valve, where the mixing valve is integrated into the wall with only the controls visible.
Step 1. Shut Off the Main Cut-Off Valve
Start by shutting off your home’s primary water valve. You can find it in the crawlspace or the basement.
Recommended article: How to Shut off Water Supply to a Shower
Step 2. Drain Remaining Water in the Pipe
Open the shower control knob to drain any remaining water in the pipe. Drain the water before you take the valve apart, otherwise, you might end up soaked when the water suddenly bursts.
Step 3. Remove the Plastic Cover of the Shower Control Knob
Use a flat-head screwdriver for taking off the plastic cap at the center of the control knob. However, if it doesn’t have a cover, you can skip this step.
Step 4. Pull Apart the Valve Stem
Unscrew the shower knob to remove the valve stem of your shower. You might need to use a wrench or pliers to remove the hexagonal stem nut while securing the valve in place.
Step 5. Remove the Mixer Valve
Once unscrewed, you can remove the shower mixing valve without difficulty. Make sure to remove the rubber washers in front of and behind the mixing valve.
Step 6. Scrub and Clean the Valve
Clean the mixing valve with warm, soapy water and a brush. Then soak the valve in a vinegar and water solution to loosen any grime, grit, and mineral buildup that could be clogging the valve. If you notice the rubber washers are starting to disintegrate, now is the right time to replace them. Make sure you get washers of the same size.
Step 7. Replace the Valve
Now it’s time to place your shower mixing valve back. Put back the stem nut and tighten it using pliers or a wrench. Then replace the shower knob, secure it with the screw, and put back the plastic cover if there is any.
Step 8. Turn the Main Cut-Off Valve Back On
Lastly, it’s time to check your shower. Turn the main cut-off valve back on and start your shower water. You should already see an improvement in the shower output.
How to Clean an Exposed Shower Valve
Here’s a simple guide on cleaning and caring for an exposed shower valve, where the entire mixing valve is exposed. This setup is sometimes called a bar valve.
Step 1. Turn Off the Main Cut-Off Valve
Remember to turn off the main water shut-off valve before beginning to clean.
Step 2. Pop Off the End Cap of the Control Knob
Remove the end cap from the temperature control knob by using a flathead screwdriver. To remove the knob housing, lever and pop it off with the same flathead screwdriver.
Step 3. Remove the Thermostatic Cartridge
Now, unscrew the thermostatic cartridge, then remove it along with the rest of the valve. Be careful during this part because if there’s excess water in there, it may dribble right out.
Step 4. Clean the Valve Housing and Cartridge
Start cleaning the inside of the valve housing and the thermostatic cartridge using a small stiff brush. If you have an old toothbrush, that will do as well. Usually, you can clean the housing and cartridge with a brush and soapy water.
But if there is a noticeable mineral buildup in the housing and cartridge, try soaking both parts in a water and vinegar solution for at least ten minutes. The acidic water should loosen up the mineral buildup and make it easier to remove with a brush. Don’t forget to rinse the parts with water afterward.
Step 5. Replace the Control Knob and End Cap
Once the valve housing and the cartridge are clean and unblocked, put them back in the correct position, then secure them in place. Replace the control knob and the end cap.
Step 6. Test Out the Shower
Lastly, test out if the shower mixing valve is working as it should be by turning the water back on. Test for possible leaks, then test the output of your shower. Your shower output should improve if the issue was a clogged mixing valve.